10/31/17

Taylored Expressions November Release Sneak Peeks - Card Sets.

Hi Everyone! Thanks for stopping by for Day 2 of Taylored Expressions November Release Sneak Peeks. Continuing with the gift giving theme I have a set of cards to share using the new Pitch Black Stamp Set.


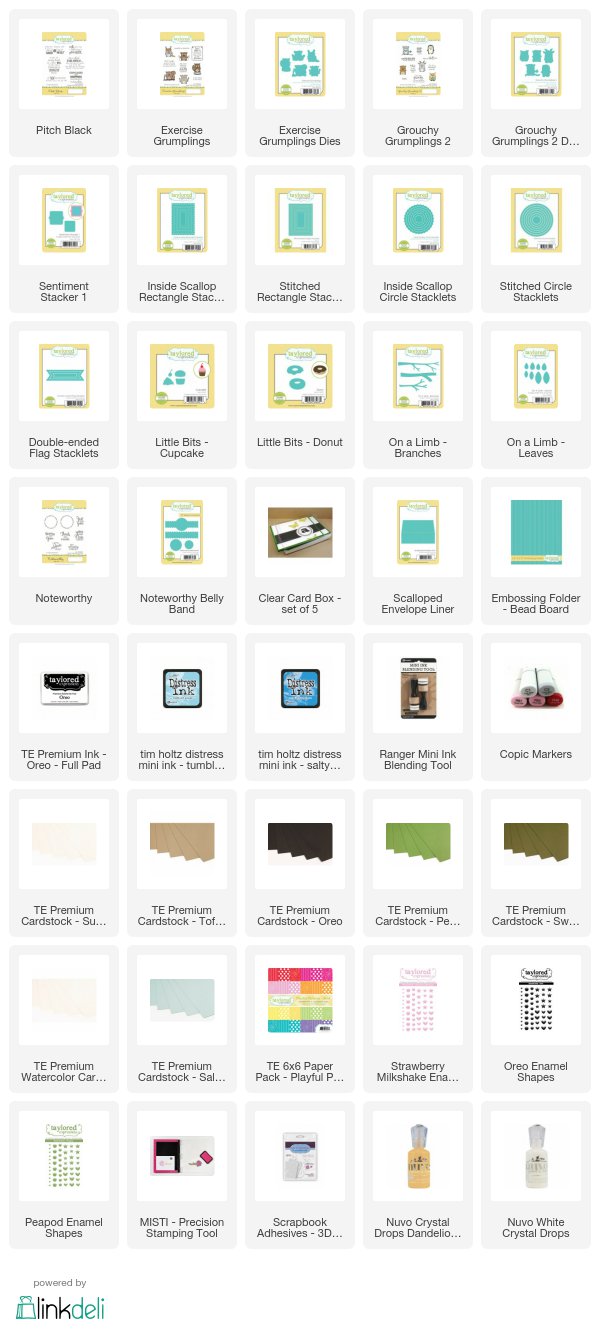
The sentiments on all my cards are included in the Pitch Black Stamp Set. I die cut this sentiment with the new Sentiment Stacker 1. I used a Grumpling from the Exercise Grumpling Stamp Set and die cut with the coordinating Exercise Grumplings Dies. I added the two Donuts with the Little Bits - Donut Die and add a few sprinkles with Nuvo White Crystal Drops. Behind the Grumpling I added a circle with the Stitched Circle Stacklets and embossed the card front with the Bead Board Embossing Folder. I finished off the card with a few Oreo Enamel Shapes. 


On my next card I used a Grumpling from the Grouchy Grumplings 2 Stamp Set. I cut out this sentiment with the new Inside Scallop Rectangle Stacklets, which coordinates with Stitched Rectangle Stacklets. A great way to create frames! Behind the sentiment I sponged on clouds with watercolor paper and Tumbled Glass and Salty Ocean Distress Ink. The owl is colored with Copic Markers. The branches are die cut with the On the Limb - Branches and the leaves with the On the Limb - Leaves. 


This card also features a Grumpling from the Grouchy Grumplings 2 Stamp Set. The Grumpling is framed with the new nside Scallop Circle Stacklets, which coordinates with Stitched Circle Stacklets for creating frames. The patterned papers are from the new Playful Patterns - Bold Paper Pack. I used the polka dots on my cards and the flower pattern to line my envelope. TE is releasing a Scalloped Envelope Liner that is designed to fit our A2 envelopes with a square flap. I love this idea! 


Here is the fourth card in the set. I used a Grumpling from the Exercise Grumpling Stamp Set and die cut with the coordinating Exercise Grumplings Dies. I created the frame with the Inside Scallop Rectangle Stacklets. And the cupcake is die cut with the Little Bits - Cupcake. 


I packaged the card with the lined enveloped in a clear cardbox and used the Noteworthy Stamp Set and Noteworthy Belly Band to create the band around the box. 


Taylored Expressions is celebrating Release Week with a giveaway during each day of sneak peeks! Visit the TE Blog to answer Taylor’s Question of the Day for a chance to win one of the latest products before you can buy it!


Thanks for stopping by! I will be back tomorrow with another sneak peek! 

10/30/17

Taylored Expressions November Sneak Peeks Day 1 - Calendars

Welcome to Day 1 of Taylored Expressions November Release! We will be exploring the theme of gift-giving this month. I will be starting out today with ideas for calendars. We have a  new Display Easel Die that fits the mini tear off calendar with design above or use the ledge in order to display the 3x4 calendar months.


The easel was easy to put together with the Display Easel Die and Toffee Cardstock. 


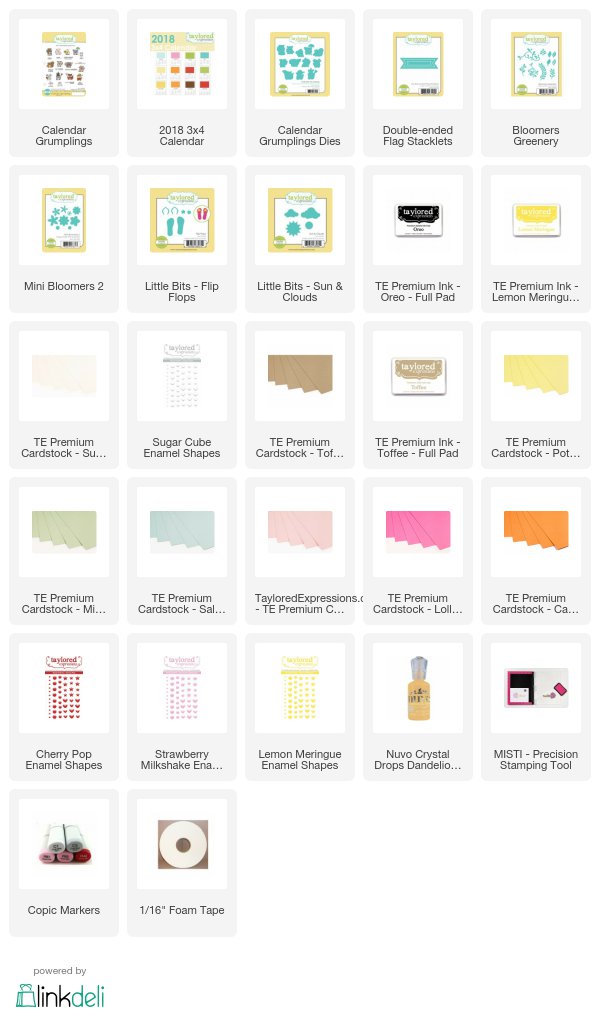
For my calendar project I am using the 3x4 Calendar Set, month May through August along with the new Calendar Grumplings Stamp Set. The stamp set includes a Grumpling for each month along with a sentiment. The sentiment is die cut with the new Double Ended Flag Stacklets. I used the Mini Bloomers 2 and Bloomers Greenery dies to add the flowers and leaves. I added Enamel Shapes to the center of the flowers. 


Here's a look at June. All my Grumplings are colored with Copic Markers and then die cut the coordinating Calendar Grumplings Dies


I add flip flops with the Little Bits - Flip Flop Die. 


I had to go red, white, and blue for July. 


I used Enamel Shapes to add the stars.
]

Here is August!


I used the Little Bits - Sun and Clouds to create the sun. 

For a limited time, earn DOUBLE CRAFTY POINTS on our Display Easel die! If you're not a Crafty Points member, it's free and easy to join. Just create an account at the TE webstore and you're automatically enrolled to begin earning crafty points with every purchase. You'll earn 74 Crafty Points on the purchase of our Display Easel die! Offer valid on qualifying purchases made between 9am CST on Thursday, November 2, 2017 and 11:59 pm CST on Sunday, November 5, 2017 and only while supplies last. Crafty Points are only available on purchases made via our retail site: www.tayloredexpressions.com.

Taylored Expressions is celebrating Release Week with a giveaway during each day of sneak peeks! Visit the TE Blog to answer Taylor’s Question of the Day for a chance to win one of the latest products before you can buy it!


Thanks for stopping by! I will be back tomorrow with another sneak peek. 

10/27/17

Jingle All the Way

Hi! I am popping in today with another Christmas Card I created with products from Pretty Pink Posh. My stash is growing!


How sweet are these reindeer! I used the Reindeer Friends Stamp Set and the Reindeer Friends Coordinating Dies. I colored the images with Copic Markers. To create the scene I die cut the larger die in the Window Frames Dies directly in the card front. 

Behind the window I added a piece of watercolor paper that I sponged with Tumbled Glass Distress Ink and splatter with white paint. The hills of snow are cut with the Stacked Edges 1 Dies. Then I add a few sequins from the Marshmallow Confetti Mix

The sentiment is from the Reindeer Friends Stamp Set. I die cut the strip of Kraft paper with the Stitched Borders 2 Dies and added a twine bow. 

Thanks for stopping by and have a great weekend. 


10/22/17

Pretty Fall Leaves

Hi Everyone! I hope you are having a good weekend. Today I am just looking forward to hanging out at home. I have been so busy lately that nothing sounds better than a lazy Sunday! Today I have a fall card to share with you that I created with products from Pretty Pink Posh.


I LOVE the Stitched Foliage Dies! I love the size and the stitched detail. I cut these leaves from watercolor paper, sponged on distress inks, and then splattered the leaves with gold paint. I layered the leaves on a tag cut with the Scallop Diamond Tags Dies and tied a twine bow at the top. 


The sentiment is from the Giving Thanks Stamp Set, stamped in Delicata Golden Glitz Ink and embossed with gold embossing powder. The final touch is a few sequins from the Metallic Gold Confetti Mix

Thanks for taking a look! 


10/19/17

Essentials by Ellen Pin-Sights Challenge

I am so excited to be a guest designer for this month's Essentials by Ellen Pin-Sights Challenge!


The Essentials by Ellen Pin-Sights Challenge is a monthly inspirational challenge based on a Color Trend Inspirational photo that is located on the CLASSroom blog. A random challenge participant will receive a $50 gift certificate to the Ellen Hutson store.  To be eligible, they MUST use Essentials by Ellen products and the photo badge as inspiration. There will be an inlinkz link up on the challenge post where you can submit their projects.


Here is my take on the challenge based on the photo. I used the Essentials by Ellen Modern Christmas Stamp Set and coordinating Modern Christmas Dies


Let's start with the background. I cut a piece of Arches French Bound Cold Press Watercolor Paper for the card front. I used a blending tool to sponge on Distress Ink in Tumble Glass and Broken China. Then I spritzed the paper with water and then splattered on white paint. 


I used inks for Taylored Expressions to stamp the tree and decorations from the Modern Christmas Stamp Set and die cut with the Modern Christmas dies


The holly leaves are from the Ellen Essentials Mistletoe & Holly Stamp Set and die cut with the Mistletoe & Holly Dies. The bow and the sentiment are included in the Modern Christmas Stamp Set. I liked the copper in the inspiration photo so I stamped the leaves, bow, sentiment, and a few of the ornaments in Delicata Celestial Copper Ink and embossed with Hero Arts Copper Embossing Powder.

The hills of snow are die cut with the Pretty Pink Posh Scallop Borders 1 Die and the card is finished off with Pretty Pink Posh Sparking Clear Mix.

Thanks for stopping by! I hope you get a chance to play along. Stop by the CLASSroom blog for all the details.

10/13/17

Friend Friday with Maya Road and Chameleon

I am excited to be part of Friend Friday with Maya Road and Chameleon Changing color Pens collaboration. For the next few Fridays some of the Maya Road DT will be sharing some inspiration using the Chameleon Changing color pens with Maya Road products. You can stop by the Maya Road Blog for all the details and links to products. 


Thanks so much for taking a look and have a good weekend! 


10/6/17

Halloween Theme Week at Pretty Pink Posh


Hi Everyone! I am up on the Pretty Pink Posh Blog today finishing off Halloween Theme Week. Stop by to see how I created this Halloween Scene and take a look at all the inspiration shared this week!


Thanks for stopping by and have a great weekend!


10/5/17

It's October Release Day at Taylored Expressions

Welcome! It's release day at Taylored Expressions! I hope you have enjoyed all the October Sneak Peeks and been inspired to start your holiday creating!  All the new October products are available at the TE web store NOW.  

My first card features the Snowed In Background Stamp


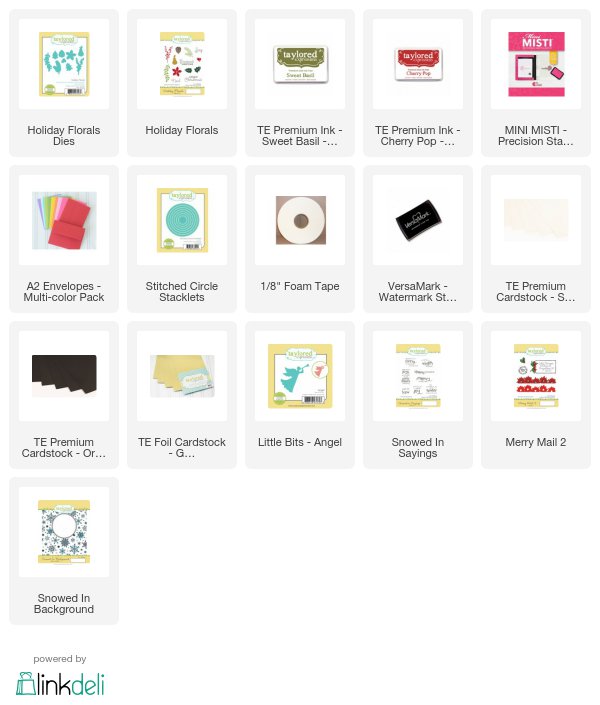
I stamped the Snowed In Background Stamp in Versamark Ink and embossed with a gold embossing powder. I stamped a sentiment from the Snowed in Sayings Stamp Set and die cut the sentiment with the Stitched Circle Stacklets. 


I embellished the card with an angel, cut with the new Little Bits - Angel Die from the new TE Gold Foil Cardstock. The berries and pine needles are stamped with the Holiday Florals Stamp Set and die cut with the coordinating Holiday Florals Die. 


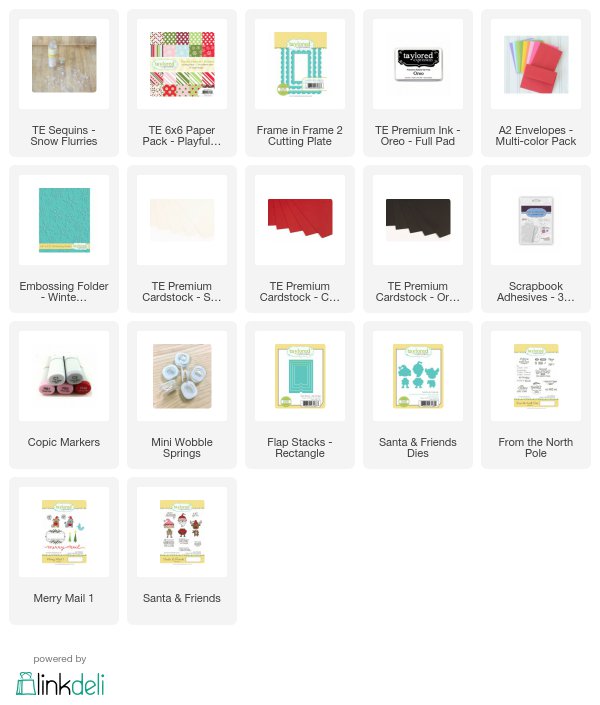
My second card features two of my favorite new products from the new release! I think the Santa & Friends Stamp Set and coordinating dies are so cute. I attached Santa's head to the card with a Mini Wobble Spring. When you move the card the head moves around! So cute! 


I framed the card with the largest die in the Frame in Frame 2 Cutting Plate and embossed the background with Winter Flurry Embossing Folder. The sentiment is from the From the North Pole Stamp Set, a great sentiment set for the holidays! 


I LOVE  the new Flap Stacks - Rectangle Die Set!! Here I created a pocket to hold a gift card under the flap. 


Thanks for visiting! If you'd like to see more projects and new product information, please head over to the TE Blog for a complete list of our participating designers!

10/4/17

Taylored Expressions October Sneak Peeks Day 3 - From the North Pole

Hi! Welcome to Day 3  of Taylored Expressions October Sneak Peeks.  All the new products will be available at the TE web store at 7:00 am PST on Thursday, October 5th.

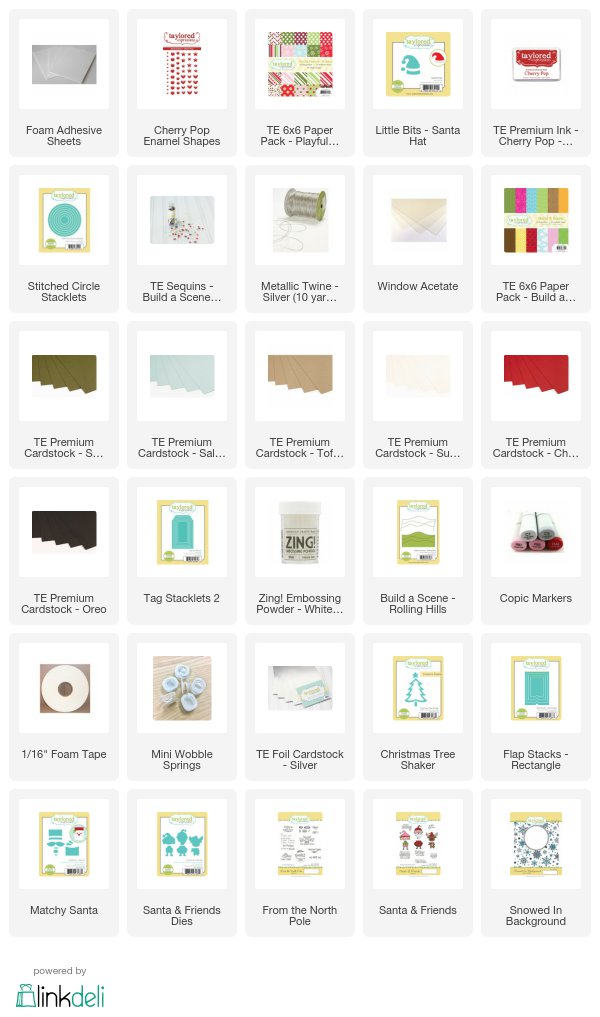
I have four tags I created with some of the new TE products. I love making tags and I love the way a handmade tag dresses up a package and gives it that extra special touch. For the base of each tag I used the Tag Stacklets 2. I use this die set to make tags throughout the year. All the sentiments are from the  From the North Pole Stamp Set.


Here I used the new Christmas Tree Shaker Die and a sentiment from the From the North Pole Stamp Set. I filled the tree with Build a Scene - Christmas Sequins. The hill is cut with the Build a Scene - Rolling Hills Die and the tree trunk and star are part of the Christmas Tree Shaker Die.


Next I use the Matchy Santa Die to create this cute Santa face and here is another sentiment from the From the North Pole Stamp Set. 


To create the background on this tag I used the new Snowed In Background Stamp. I stamped in Sugar Cube Ink and embossed with white embossing powder. I finished off the tag is a hat created with the Little Bits - Santa Hat. 


And my final tag uses the new Santa & Friends Stamp Set and the Santa & Friends Dies. The head is attached to the tag with a Mini Wobble Spring. Just give the head shake and it moves! So so cute in person! 


I love that I could make this tag interactive both with the wobble head and a flap that opens. I used the new Flap Stacks - Rectangle to cut the flap and all the sentiments are from the From the North Pole Stamp Set. 


My second project showcases the new Frame-Worthy Christmas Prints, a fun way to create holiday home decor. The prints are Copic friendly. I added a little dimension with Enamel Shapes and Snow Flurries Sequins. 


Be sure to stop by the TE blog and leave a comment and tell us your favorite product from today’s sneak peeks for a chance to win one of our new products! Thanks for stopping by! I will be back tomorrow with my release day projects.

10/3/17

Taylored Expressions October Sneak Peeks Day 2 - Merry & Bright

Hi and thanks for stopping by for Day 2 of Taylored Expressions October Sneak Peeks.  Today I two more Christmas cards to share. All the new products will be available at the TE web store at 7:00 am PST.


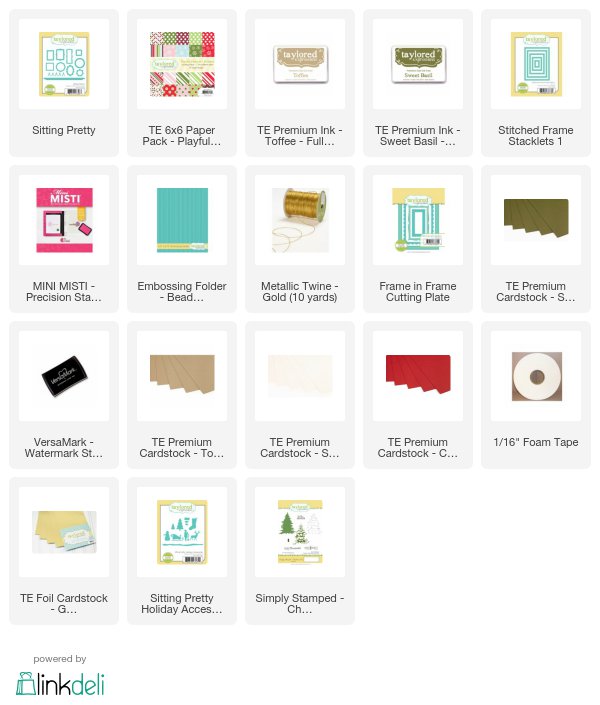
My first card features the new Sitting Pretty - Holiday Accessories Dies, which coordinates with the previously released Sitting Pretty Dies. The trees, Santa, sleigh, deer, snow, and stockings are all die cut with the Sitting Pretty - Holiday Accessories Dies. The shelf is included in the Sitting Pretty Dies. I added a little glitter to the snow and Cherry Pop Enamel Shapes to the hang the stockings. 


The sentiment is from the new Simply Stamped - Christmas Tree Stamp Set and framed with the smallest die in the Frame in Frame Cutting Plate. The card front is framed with the largest die in the Stitched Framed Stacklets 1 and the background is embossed with the Bead Board Embossing Folder. 


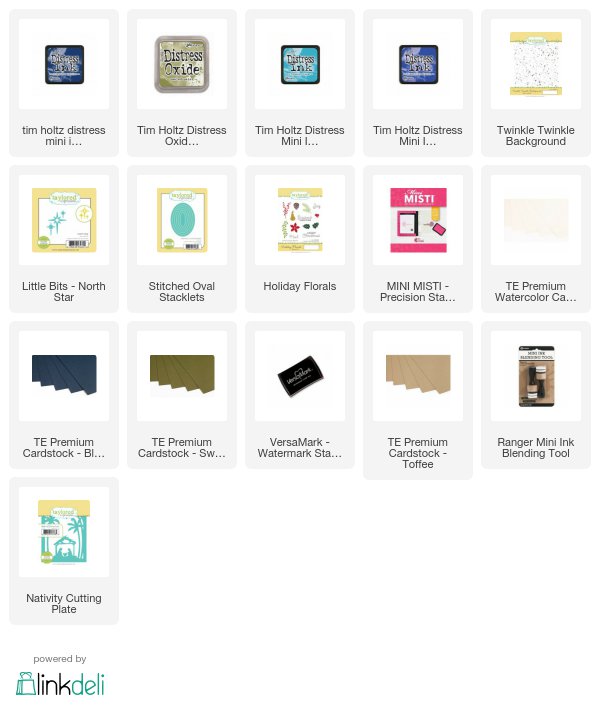
The centerpiece of my next card is the new Nativity Cutting Plate. So pretty! I die cut the cutting plate twice, once from Toffee Cardstock and once from the new TE Gold Foil. I adhered the two layers together, leaving a slight shadow with the gold foil. I added Peeled Paint Oxide Ink to the palm trees. The star is cut with the Little Bits - North Star. The sentiment is from the Holiday Florals Stamp Set. 


To create the background I stamped the Twinkle Twinkle Background on watercolor paper with Versamark Ink and embossed with gold embossing powder. Then I used a blending tool and distress inks to add the night sky.


For a limited time, earn DOUBLE CRAFTY POINTS on our Merry Mail 1 andMerry Mail 2 stamp sets! If you're not a Crafty Points member, it's free and easy to join. Just create an account at the TE webstore and you're automatically enrolled to begin earning crafty points with every purchase. You'll earn 34 Crafty Points EACH on the purchase of our Merry Mail 1 and Merry Mail 2 stamp sets! Offer valid on qualifying purchases made between 9am CST on Thursday, October 5, 2017 and 11:59 pm CST on Sunday, October 8, 2017 and only while supplies last. Crafty Points are only available on purchases made via our retail site: www.tayloredexpressions.com.


Be sure to stop by the TE blog and leave a comment and tell us your favorite product from today’s sneak peeks for a chance to win one of our new products! Thanks for stopping by! I will be back tomorrow with another sneak peek.